DIY Giant paper Rose~ Is bigger better?
Is bigger better when it comes to your wedding flowers?
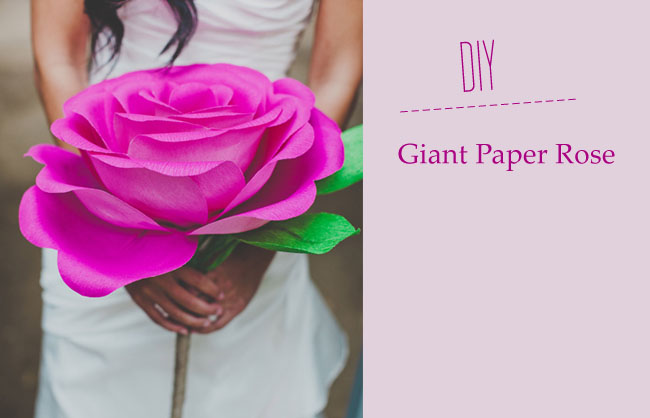

If you loved the beautiful DIY wedding this morning and Nata’s gorgeous paper flower bouquets, you are in luck as Nata is sharing how she crafted them with us! She was inspired by a template created by Morgan Levine on Martha Stewart (as was I in the flowers I created for this styled shoot). I just love that this basic idea has inspired different brides to create their own version of giant paper flowers – you might remember these equally awesome giant paper flowers from this wedding I shared last year. 🙂 Thanks so much Nata for sharing how you created your giant pink paper rose + special thanks to Studio Castillero for the photos of the DIY + her wedding!
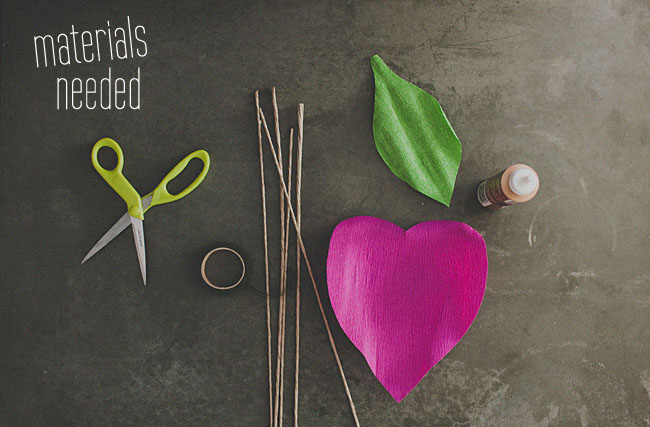
Materials (to make one giant rose): • 1 Roll of floral tape • 6 18-gauge floral stem wire (can find it here) • 4 sheets of Doublette crepe paper for petals (can find it here – the doublette crepe is $2.50 per sheet and each sheet measures 10 x 49 inches) • 1 sheet of Doublette crepe paper in green for leaves, calyx, stem • 1 round pencil • Craft Glue (we used this kind) • Crepe paper templates (download from Martha Stewart) • 3 copies of teardrop template • 8 copies of the heart-shaped template • 2 copies of the leaf template • 1 copy of the calyx template
Step 1: Cut the petals
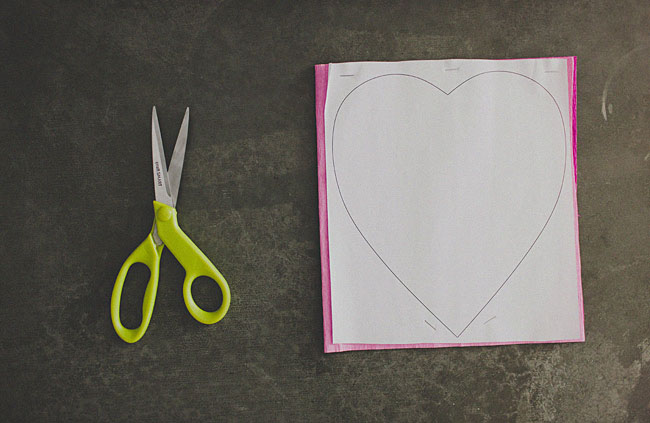
Cut 5-6 teardrop petals and 15-6 heart-shaped petals from the petal colored crepe paper.
VERY IMPORTANT: Crepe paper is directional so it matters which way you’re cutting the paper. Make sure the grain is vertical when you’re cutting the flower pieces.

Stack 2 pieces of crepe paper on top of each other then place 1 copy of template over the crepe paper and staple. I don’t recommend cutting more than 2 layers of crepe paper at a time since the edges won’t be cut as cleanly.

Repeat until all of your petals are cut
Step 2: Cut the leaves + calyx
Cut 3 leaves and 1 calyx from the green crepe paper.
Step 3: Make the rose stem
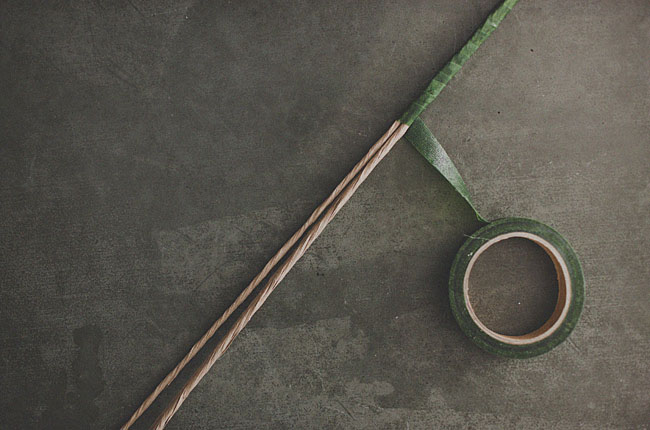
Take 3 pieces of stem wire and wrap in floral tape.
Step 4: Shape the petals

With both hands, pull from the center of the petal outward. This will create a cupping of the paper (which is what gives it the petal-like quality)
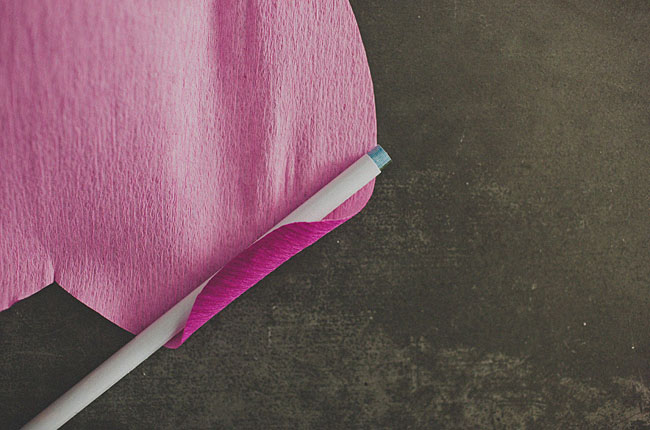
Turn petal over and use the round pencil to curl the top of the petal.
Step 5: Create the rose bud – the inner part of the rose

Take one teardrop shaped petal and wrap around the taped floral wire from Step 3. Use more floral tape to secure. Repeat working your way around the floral wire until all of the teardrop shaped petals are use.
Step 6: Make the rose bloom –the outer part of the rose

Take one heart-shaped petal and wrap around the rose bud, secure with floral tape. Repeat until all petals have been used.
Step 7: Make the leaf-stems
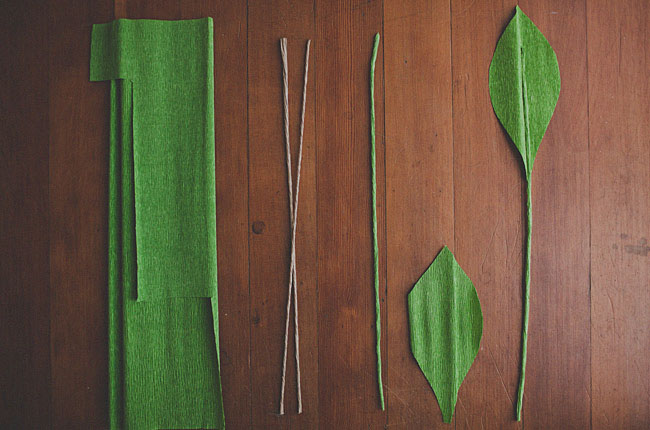
Take 3 loose pieces of floral wire and using craft glue, wrap each one with green crepe paper. Take one leaf and 1 crepe paper wrapped floral wire from step 10 and glue together. Repeat 2 more times.
Step 8: Add calyx to rose

Wrap the calyx around the base of the rose bloom and secure with floral tape.

Cover the floral tape area with more crepe paper.
Step 9: Add leaf-stems to rose
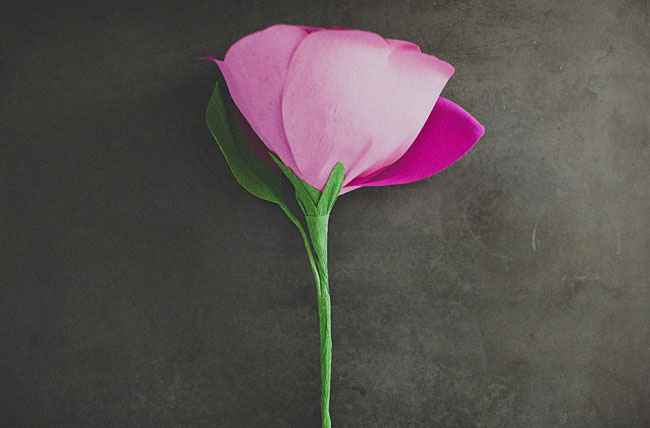
Using craft glue, secure each of the 3 leaf-stems to the rose stem. I found it helpful to use binder clips to hold the stems together while the glue was drying.


And there you go! It might take a little time, but a great (and pretty awesome) alternative to real flowers for your bouquet – plus you can keep these forever! In This case bigger is definately better!

big thanks to Studio Castillero for the photos + to reader Nata for the DIY created for GWS
