
I’ll pass the blog over to Lauren………..
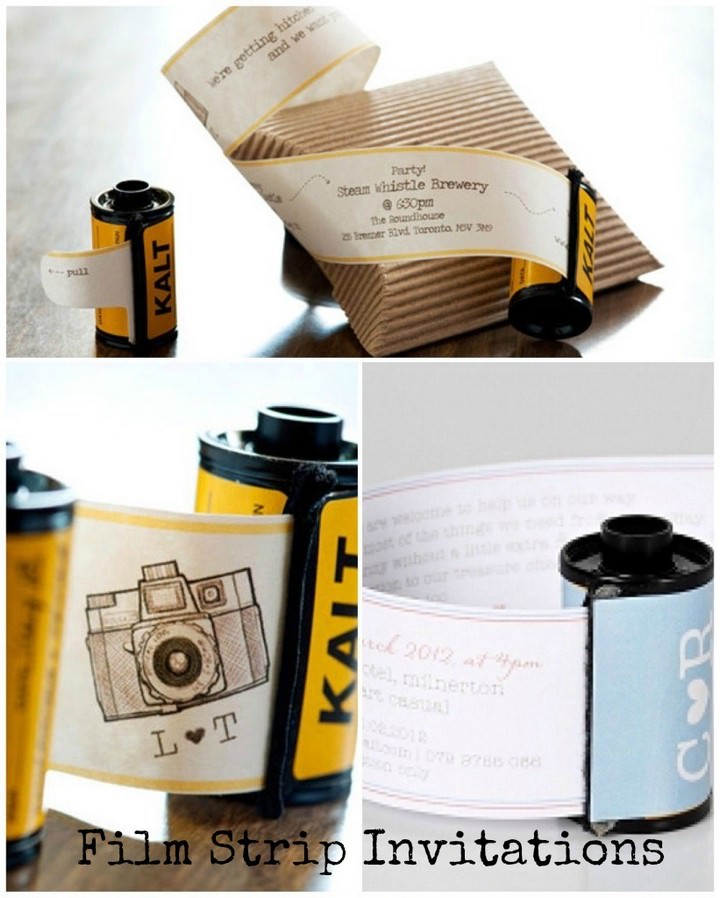
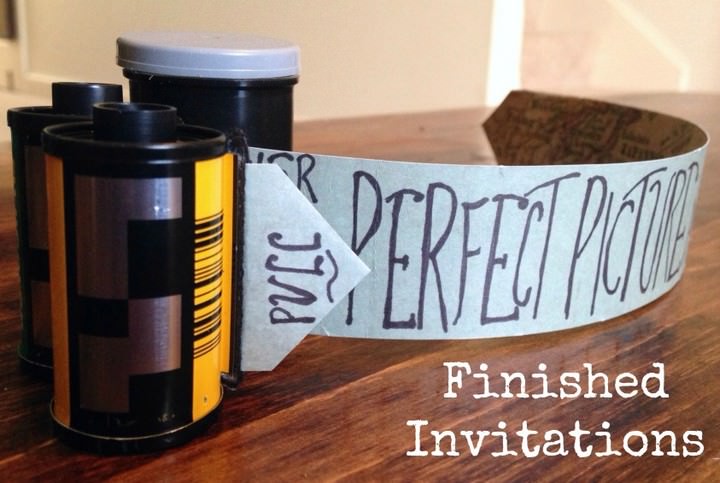
So whilst searching all around the Pinterest world I found the most creative and easy invitations! I thought these would be great as invitations! I’m not sure that they would be any cheaper than paper invitations, but they certainly would surprise your guests!
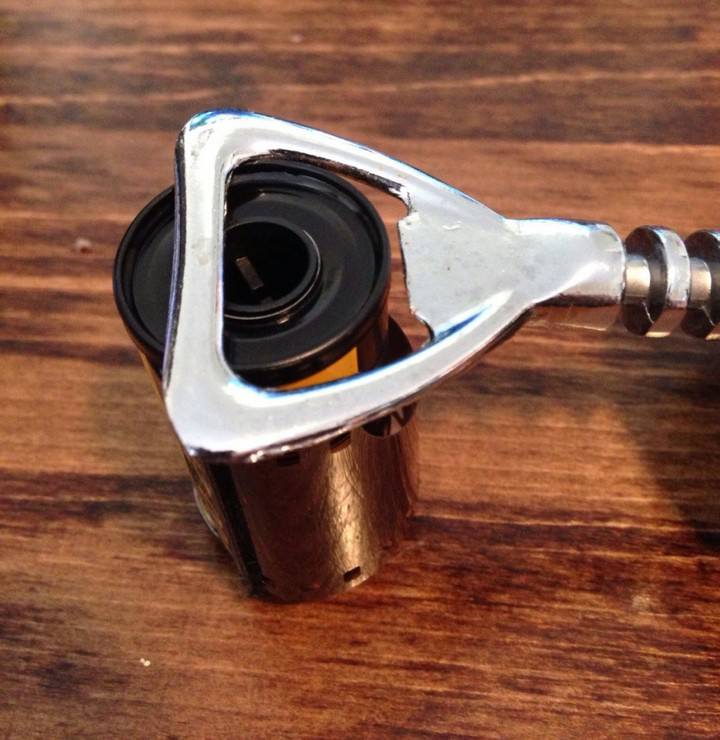
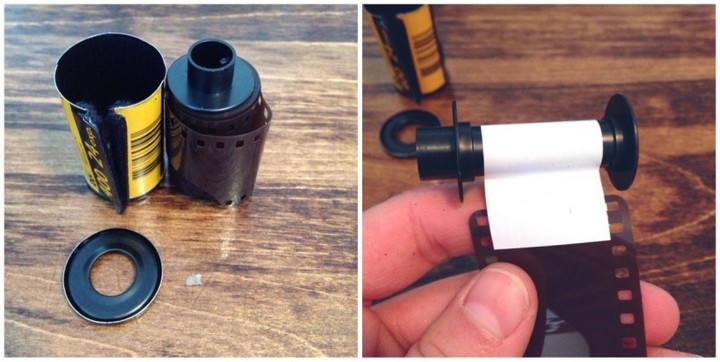
Step 1) The first task is to open the film canister. I have to say that I felt bad wasting a whole roll of film but I had film that had been lying around forever not being used. Sadly, with a bottle opener, it was a little more difficult to open the canister. In order to open it, turn the film to the part without the spindle sticking out and find the lip with your can opener. Pry the lid off by working your way around the whole canister. Be careful not to bend the cap too badly, as you will need to put it back on later!
Step 2) Next, pop the film and the spindle out of the canister. And detach the film from the spindle.
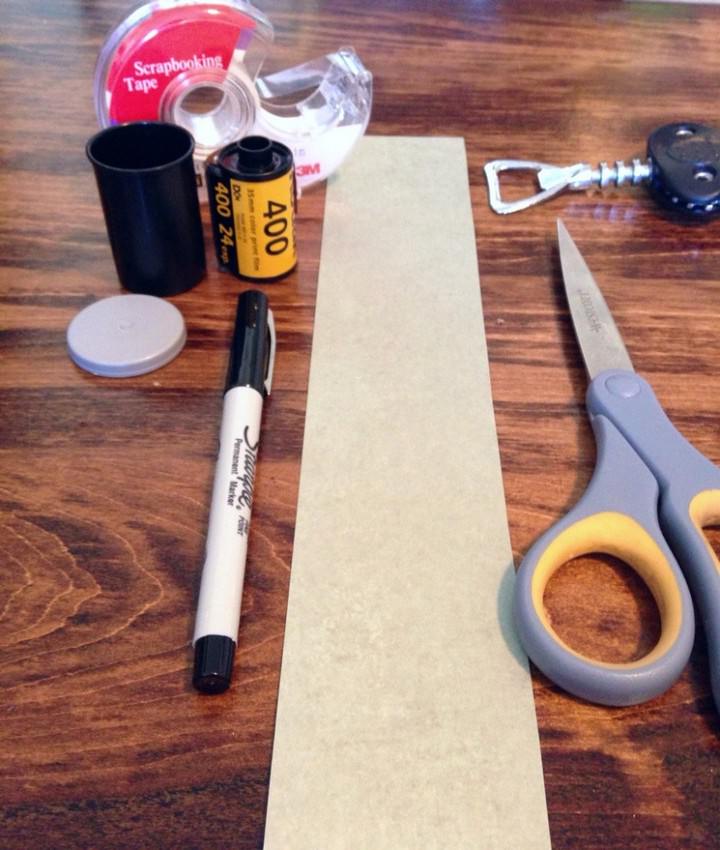
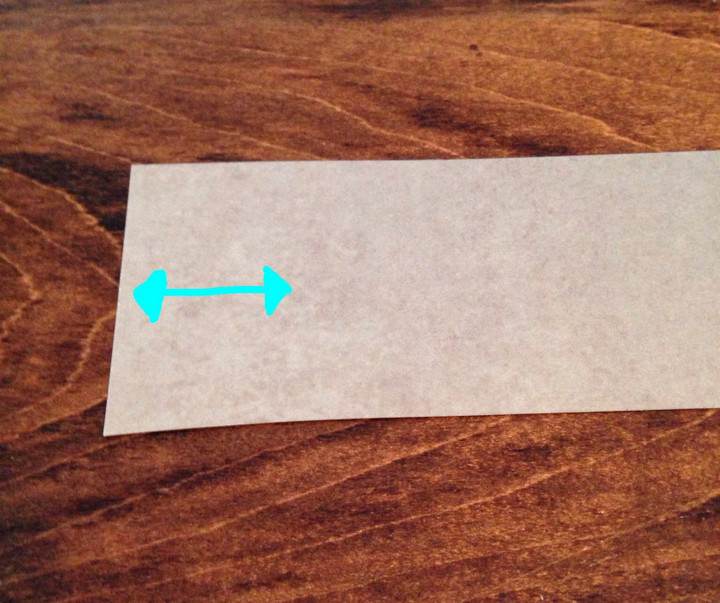
Step 3) Take the film and spread it out as best you can and trace your paper to get a strip the same width as the film. You may want to make your strip of paper longer so you can write more on it.

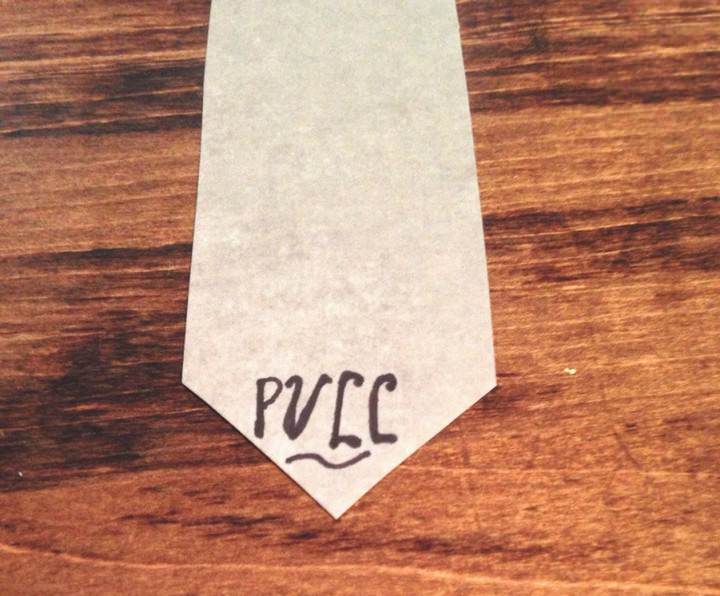
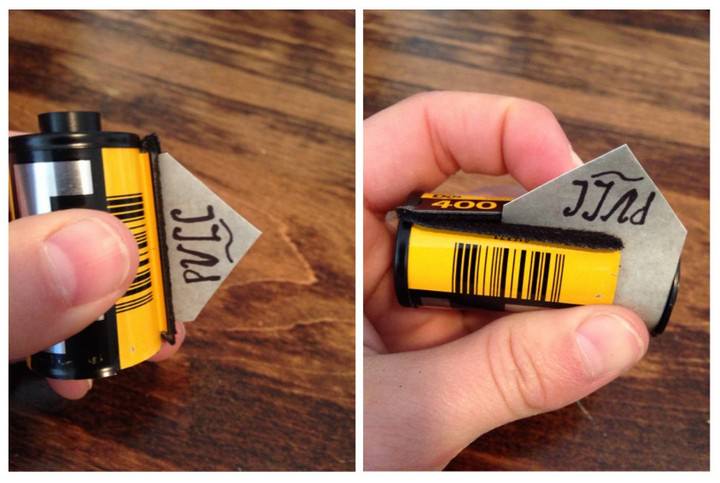
Step 4) Once it’s traced, cut out the strip. Take one end of that strip and cut off the corners to form a point. This will be your pull tab. If you want to write the word “Pull” you can, I thought it added a really cute touch. Now you can start to write your message. Make sure you write it all out first on a piece of paper and practice a few times if you’re going to do fancy handwriting. Make sure you leave about a half inch or so of space to account for the bit of paper that won’t pull all the way out from the canister.
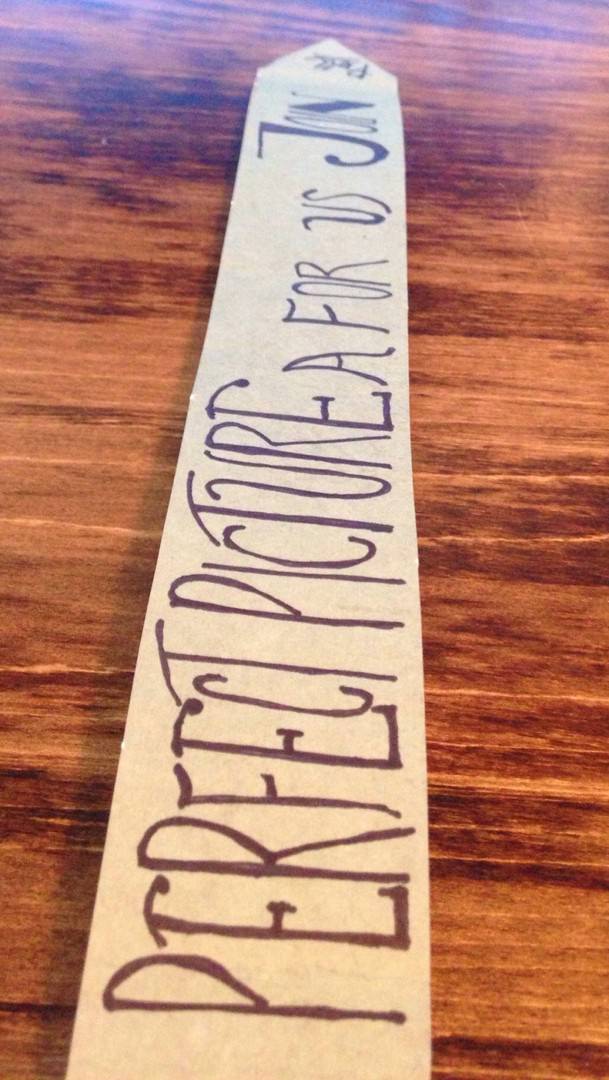
Step 5) Because of the way your paper will be pulled out of the canister, everyone will basically be reading your words from right to left. For this reason, it’s important to start with your last words at the very end.
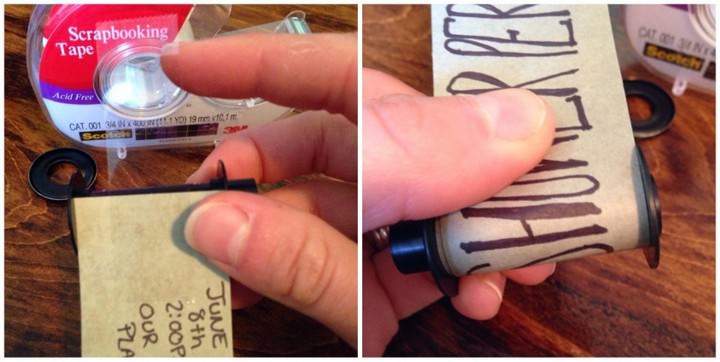
Step 6) Once you are finished writing your message (I hope it all fit!), it’s time to roll your message onto the spindle.
Step 7) Put a piece of clear tape on the end of your paper strip and tape it to the spindle, then just roll it up! Once it’s all rolled, slide the pointy end through the opening in the canister so that it sticks out a little.
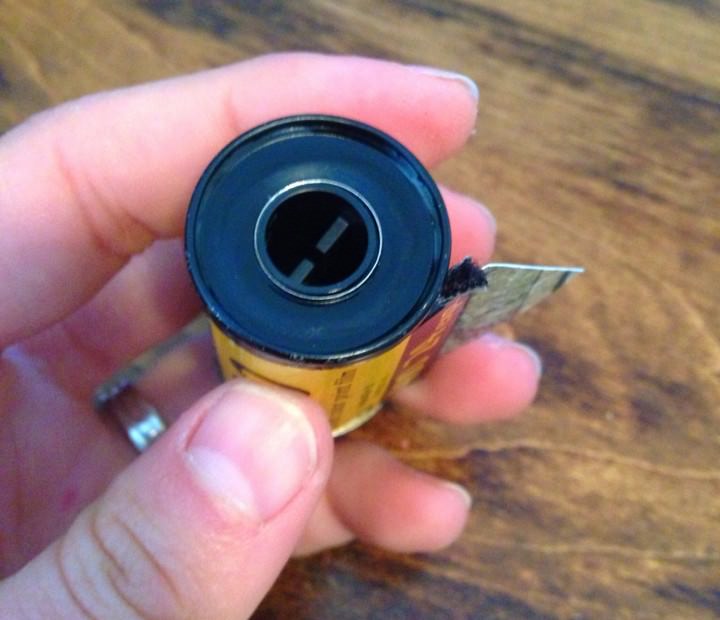
Step 8) Next place your spindle back in the empty canister and *attempt* to put the cap back on. This is the most challenging part of this DIY. I think I wrestled with the cap for about 20 minutes before I got it on, and even then I’m not sure that it was securely on.
These invites are probably best for small events like an engagement party or bridal shower. A wedding invite just has too many moving parts to it, in my opinion. You can also try doing the writing part on the computer to get more information on the strip of paper. I know I’m not having a bridal shower, but these are definitely the kind of fun invitations I’d love to do! Let me know if you decide to DIY these!
Tips to make this easier:
- Be careful when you are opening the canister not to bend the metal
- Glue…glue helps
- Pliers to sort of close the edges tightly around the canister.
- Once you get the lid on you are all set!
To see more of her posts you can read Lauren’s blog here:
http://flatbrokebride.wordpress.com [email protected] FACEBOOK TWITTER